In the previous chapter, we say basic operations on git. This chapter is a continuation of the previous chapter.
in this chapter we shall learn about below commands:
git diff
git apply
Before we start with “git diff”, create a “myProg.c” file and do “git add” and “git commit -m “initial commit” “.
myProg.c
#include<stdio.h>

int main()
{
printf("Hello World\n");

return 0;
}
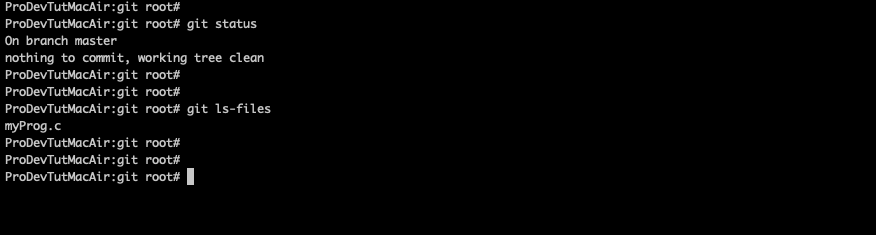
Finally your “git status” should be like below:
git diff
1. “git diff” is used to get the new code that has been added to the file that is staged/comitted. This command can be used in many different scenarios. Some of them are explained below:
To get the additional code added to the source file after it is comitted:
for example, if I add a new line “printf(“New line one\n”);” ” to the source file above and use the below command to get the diff.
git diff > myFile.diff
When you open myFile.diff, it will look like below:
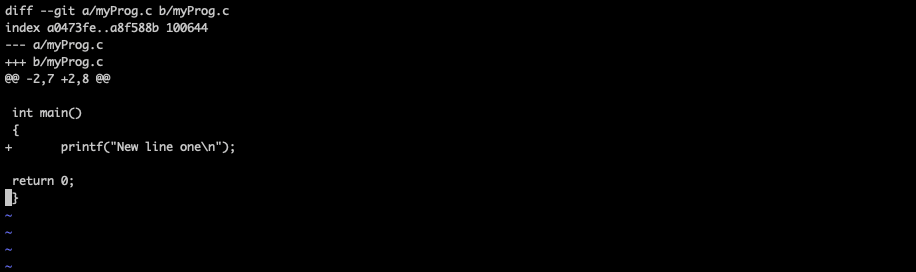
As you can see in the above image, there is a “+” symbol, it means that a new line is added.
if there is a “-” symbol, then a line is deleted.
To get the additional code added to the source file after it is staged:
If the changes are staged, then to get the diff, you need to append “–staged” option, as shown below:
Now I have staged the file “myProg.c”, so to get the changes in staged files use “git diff –staged > myFile.diff”
.To know the difference between 2 different
If you have 2 diff files, you can also check the diff between them by using below command:
“git diff fileOne.diff fileTwo.diff”
git apply
1. Now you got a diff file. How do you apply it?
2. You will use “git apply <diff file name>”.
Example:
I have a diff file “myfile.diff” and it’s content as below:
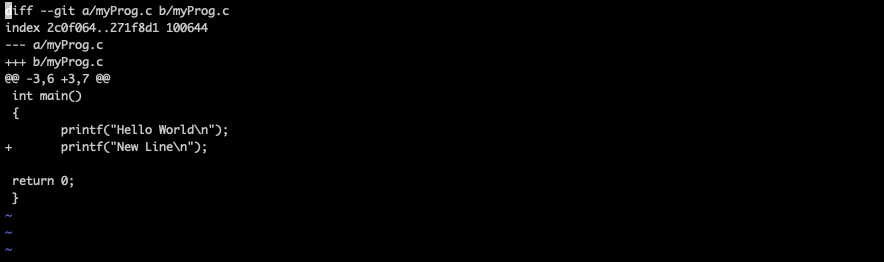
And I want that diff to be applied to the source “myProg.c” file.
To apply that diff, I use:
“git apply myfile.diff”
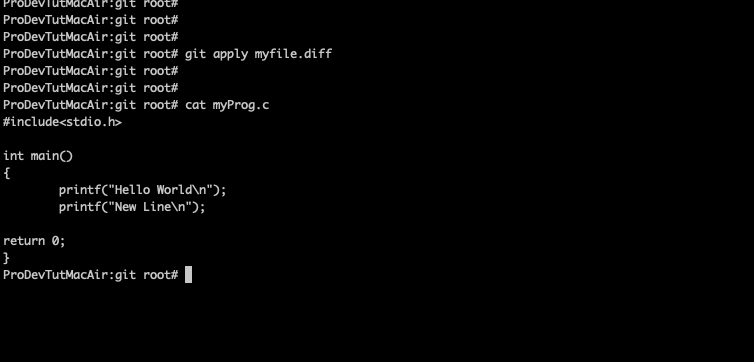
In the output of “cat myProg.c”, the new line has been added.